
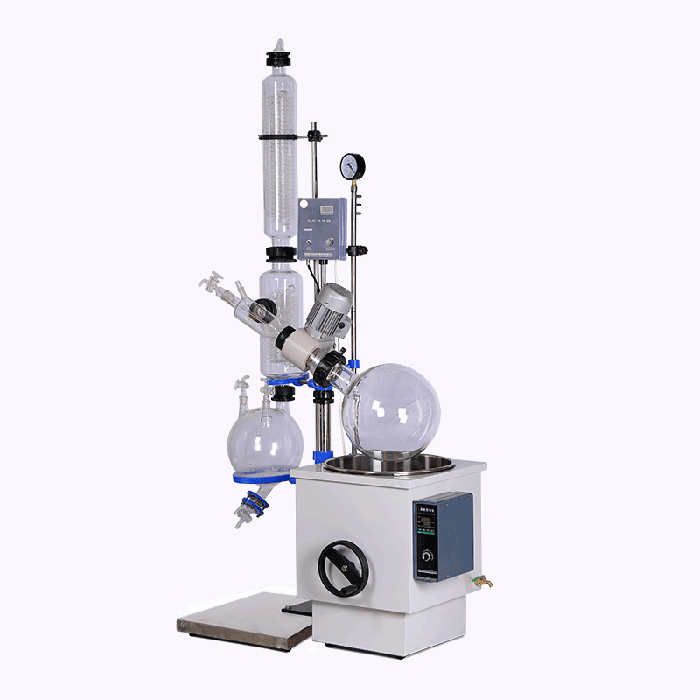
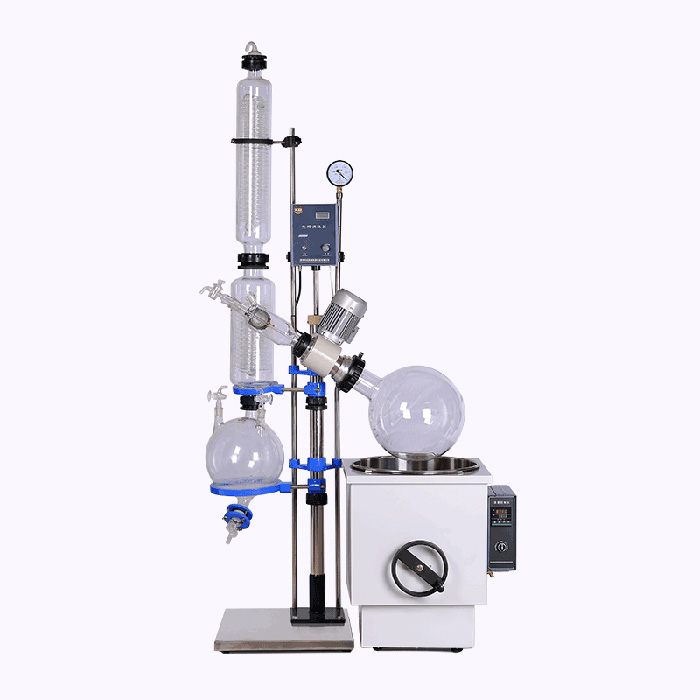
RE-1002 2002 5002 rotary evaporator brief description
2.Remove one screw nut of the rack. Screw the rack to the base plate then tighten the nut on and make sure the vacuum gauge facing to the setter.
3.Base unit is placed on a stable surface near water. If uneven, operator can adjust four rubber feet.
4.Tighten digital converter on the rack, then connect motor five core plug.
5.Slide main condenser clamp over stainless steel rack. Tighten knurled screw of clamp carefully.
6.Mount the vapor tube on the motor and use the PTFE-seal to tighten.
7.Connect the vice condenser with the vapor tube and sustain it with bracket. Using the PTFE-seal to tighten.
8.Connect the receiving flask with the vice condenser and sustain it with bracket. Mount the vacuum switching valve on the junction.
9.Insert the main condenser into the vice condenser and tighten the clamp.
10.Mount the inlet valve, outlet valve and discharge valve.
11.Insert the locking pin of the motor and mount the evaporating flask on the motor. Remove the locking pin after tightening the clamp.
12.Move the heating bath under the evaporating flask. Add water to 2/3 pot. Adjust the height of heating bath.
13.Using the vacuum pipe to connect the exhausting port to the joint above vacuum gauge. Connect another joint to the circulating water pump.
14.Mount the feeding tube and connect the device to the cooling water.
Notes
(1) Glassware should be cleaned before installation.
(2) The standard port and the sealing surface should be coated with a little vacuum grease to increase air tightness.
(3) Be sure that every parts are locked tightly before starting up .
(4) Be sure to remove the locking pin before starting up.
(5) Not to move the whole device.


